Adjusting track controls
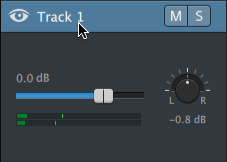
The controls in the track list allow you to adjust a track's volume, adjust track panning, and mute or solo a track.
When a track has multiple channels, separate controls are displayed for each channel. You can use the blue Volume fader to adjust the overall level of the track, and the orange Volume faders adjust each channel's contribution to the level of the track. For more information, see "Working with multichannel audio."
|
|
|
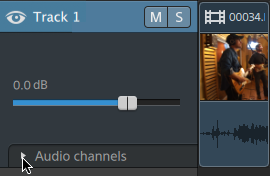
 to expand the track's channels.
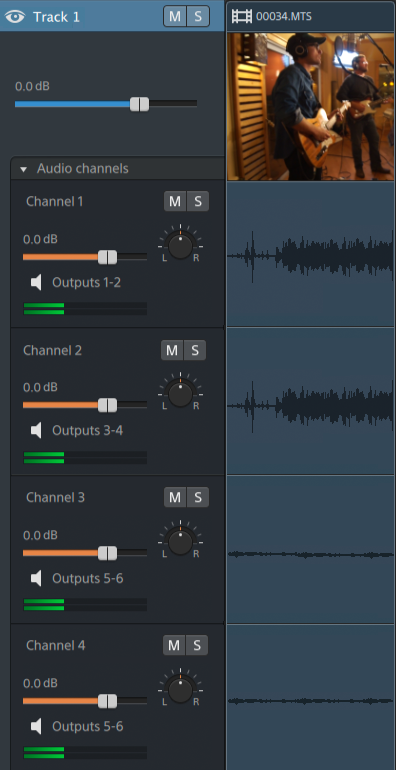
Adjusting track volume
Drag the Volume fader to adjust the overall volume of the selected track. Double-click the center of the thumb to reset the fader. You can click the numeric value to type a new value:

Dragging the Volume fader on the track header also adjusts the Volume fader in the Track Inspector. For more information, see "Using the Track Inspector."
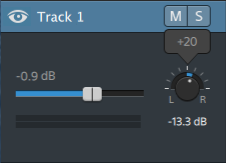
Hold Ctrl (Windows) or ⌘ (macOS) to adjust the volume fader in fine increments.
When adjusting volume, remember to watch your audio meters. Because you are adding the volumes of all of the tracks together, it is easy to clip the audio output. Make sure that the meters never display the red Clip indication during playback. For more information, see "Monitoring audio levels."
The meter in the Track Inspector shows audio levels for the selected track. The meter in the activity pane at the top of the Catalyst Edit window shows the sum of all audio at the cursor position.
Muting a track
Click the  button to mute/unmute the selected audio track, or click the
  button to mute a video track.
When a track is muted, it is excluded from the project output. You can enable the Mute button on additional tracks to add them to the mute group.
Clicking the Mute button in the track header also updates the Mute button in the Track Inspector.
Soloing a track
Click the  button to solo/unsolo the selected track.
When a track is soloed, all unsoloed tracks are effectively muted. Click the button on additional tracks to add them to the solo group. To remove a track from the solo group, click its button again.
Clicking the Solo button in the track header also updates the Solo button in the Track Inspector.
Panning a track
Drag the Pan knob to control the position of the track in the stereo field: dragging to the down or to the left will place the track in the left speaker more than the right, and dragging up or to the right will place the track in the right speaker. Double-click the knob to reset panning to the center.
Dragging the Pan knob on the track header also adjusts the Pan knob in the Track Inspector.
The Track pan knob is not displayed for tracks that are assigned to a mono output or that contain multichannel clips. When a track contains multichannel clips, use the Audio Channel controls to pan each channel.
If you want to change the panning model that is used for the track, click the Pan mode button in the Track Inspector and choose a setting from the menu:
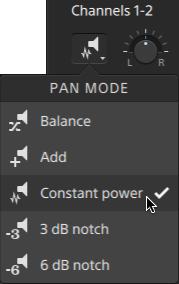
For more information, see "Using the Track Inspector."