Trimming clips
Trimming a clip allows you to control which part of the clip is played on the timeline.
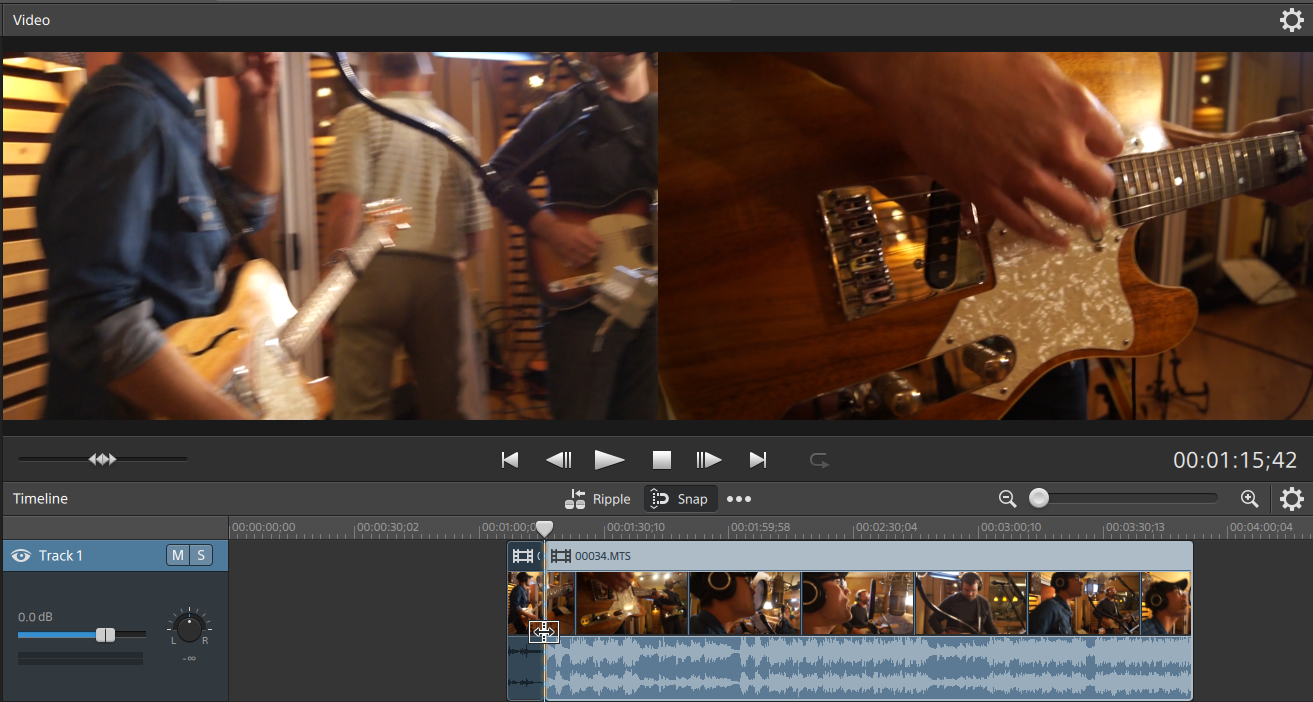
The Video Preview window temporarily enters split-screen preview mode when trimming, roll-trimming, split-trimming, or slip-trimming clips. This temporary split-screen mode allows you to see both sides of the edit at once:

-
When trimming the left edge of a clip, the left side of the preview displays the last frame from the previous clip (black if there is no previous clip), and the right side of the preview displays the first frame from the clip being trimmed.
-
When trimming the right edge of a clip, the left side of the preview displays the last frame from the clip being trimmed, and the right side of the preview displays the first frame from the next clip (black if there is no next clip).
-
When slip trimming the left or right edge of a clip, the left side of the preview displays the first frame from the clip being trimmed, and the right side of the preview displays the last frame from the clip being trimmed.
When splitting or trimming clips that contain audio, an invisible fade is applied at the edit to soften potentially harsh transitions.
Trimming the start of end of a clip
-
Click the Tools button below the timeline and select the Edit Tool
 .
. Hold E to switch to the Edit Tool temporarily. When you're finished editing, release the E key, and the previous editing tool will be restored.
-
Drag either end of a clip to change its starting or ending point. The media on the timeline does not move, but the start or end point of the clip will change with the clip edge.
If ripple mode is enabled, all subsequent clips will ripple automatically. For more information, see "Ripple edits."
If snapping is enabled, the clip edge will snap to available snap points as you drag it. For more information, see "Clip snapping."
If you drag the end of the clip past the length of the source clip, the clip is bound to the clip length.
If you trim a clip until its length is zero, the clip is deleted from the timeline.
If multiple clips are selected before you start trimming, the clip you trim remains selected, and the other clips are deselected.
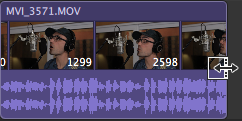
To trim small clips, you may need to zoom in to the timeline.
To change the magnification level of the timeline, you can drag the slider above the time ruler or click the Zoom Out or Zoom In
  buttons.
Split trimming a clip
-
Click the Tools button below the timeline and select the Split Trim Tool
 .
. Hold T to switch to the Split Trim Tool temporarily. When you're finished editing, release the T key, and the previous editing tool will be restored.
-
Click a clip and drag to split the clip at the point you click and trim the clip in the direction you drag (eraser mode).
If ripple mode is enabled, all subsequent clips will ripple automatically. For more information, see "Ripple edits."
If snapping is enabled, the clip edge will snap to available snap points as you drag it. For more information, see "Clip snapping."
If you drag the end of the clip past the length of the source clip, the clip is bound to the clip length.
If you trim a clip until its length is zero, the clip is deleted from the timeline.
Slip-trimming a clip
-
Click the Tools button below the timeline and select the Slip Tool
 .
. Hold P to switch to the Slip Tool temporarily. When you're finished editing, release the P key, and the previous editing tool will be restored.
-
Drag the right or left edge of a clip.
As you drag the clip edge, the opposite edge of the clip will remain fixed, trimming the media from the edge you drag.
If ripple mode is enabled, all subsequent clips will ripple automatically. For more information, see "Ripple edits."
If snapping is enabled, the clip edge will snap to available snap points as you drag it. For more information, see "Clip snapping."
Trimming adjacent clips (roll trim)
-
Click the Tools button below the timeline and select the Roll Trim Tool
 .
. Hold R to switch to the Roll Trim Tool temporarily. When you're finished editing, release the R key, and the previous editing tool will be restored.
-
Drag the edge between two adjacent clips. The edges of the clips are trimmed simultaneously in the direction you drag.
If snapping is enabled, the clip edge will snap to available snap points as you drag it. For more information, see "Clip snapping."
If you drag the end of the clip past the length of the source clip, the clip is bound to the clip length.
If you trim a clip until its length is zero, the clip is deleted from the timeline.
As you drag, the video preview switches to a split-screen preview to allow you to see the frame on either side of the edit: