Stream editing (L-J cuts and rolls)
Stream editing allows you to trim a clip's audio and video separately while still keeping both streams combined in a single timeline clip so that you can quickly and easily create J and L cuts.
-
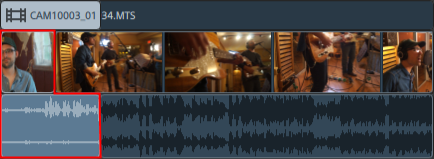
In an L cut or roll, the audio from the first clip continues after the video has been trimmed, allowing the user to see the new scene before hearing its audio:

-
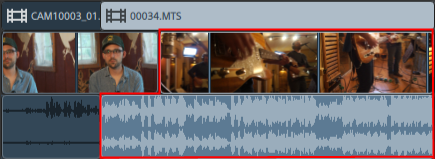
In a J cut or roll, the audio from the second clip begins before the video, allowing the user to hear the new scene's audio before seeing the video.

-
Click the Tools button below the timeline and select the Edit Tool
 , Roll Trim Tool
  , or Envelope Tool
  .
. Hold E to switch to the Edit Tool temporarily. When you're finished editing, release the E key, and the previous editing tool will be restored.
-
Select the Edit Streams button
 below the timeline (or press Shift+E).
 Press and hold Shift before dragging the end of the audio or video stream with the Edit Tool, Roll Trim Tool, or Envelope Tool to enable Edit Streams mode temporarily.
-
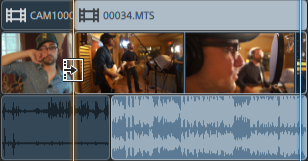
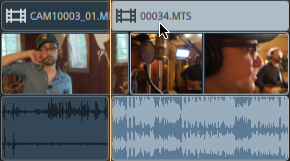
Drag either end of a clip's audio or video stream to change its starting or ending point. The media on the timeline does not move, but the start or end point of the stream will change with the clip edge.
If snapping is enabled, the stream edge will snap to available snap points as you drag it. For more information, see "Clip snapping."

If you drag the end of the clip past the length of the source clip, the clip is bound to the clip length.
If multiple clips are selected before you start trimming, the clip you trim remains selected, and the other clips are deselected.
To trim small clips, you may need to zoom in to the timeline.
To change the magnification level of the timeline, you can drag the slider above the time ruler or click the Zoom Out or Zoom In
  buttons.
If you want to move a clip, drag its header. If ripple mode is enabled, all subsequent clips will ripple automatically. For more information, see "Ripple edits."
